A planet formed by pipes in a grid pattern.
1 | 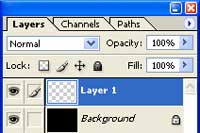 | Create a new document, fill the background with black then create a new layer. |
2 | 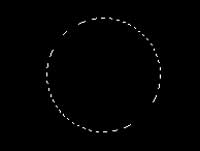 | On the new layer, use the Circular Marquee tool to select a circle in the center. |
3 | 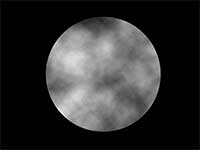 | Add a Clouds filter (Filter> Render> Clouds). |
4 | 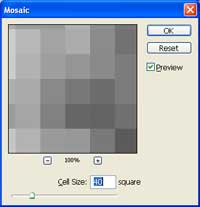 | Use the Mosaic filter (Filter> Pixelate> Mosaic) to pixelate the image. |
5 | 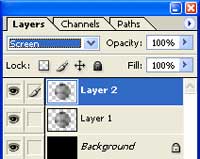 | Duplicate the layer (Ctrl+J) and change the blending mode to Screen. |
6 | 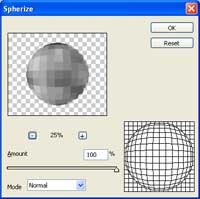 | On the top layer, distort the image using the Spherize filter (Filter> Distort> Spherize) with these settings: Amount: 100%
Mode: Normal |
7 | 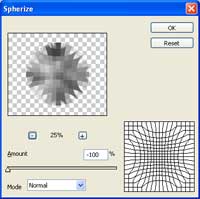 | Select the middle layer and apply the same filter but with this setting: Amount: -100 |
8 | 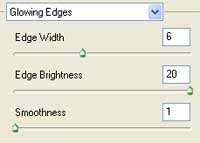 | Add a Glowing Edges filter (Filter> Stylize> Glowing Edges) using these settings: Edge Width: 6
Edge Brightness: 20
Smoothness: 1 |
9 | 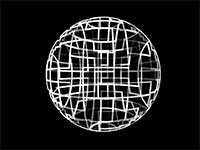 | Repeat the filter (Ctrl+F) for the other pixelated layer. |
10 | 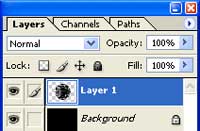 | Merge the top two layers (Ctrl+E). |
11 | 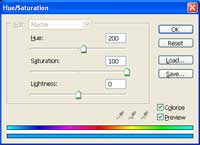 | Colorize the layer using the Hue/Saturation tool (Ctrl+U). These are the settings I used: Hue: 200
Saturation: 100
Lightness: 0 |
12 |  | Duplicate the layer (Ctrl+J) and change the blending mode to Overlay. |
13 | 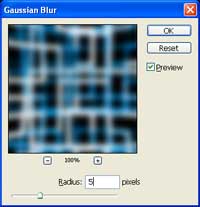 | Blur the new layer slightly using the Gaussian Blur filter (Filter> Blur> Gaussian Blur). |
14 | 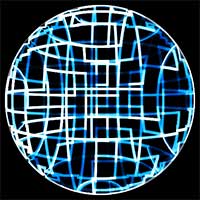 | Here is the result that I got. |


0 komentar:
Post a Comment